Image Annotation
graph LR
  A[Data Acquisition]:::active --> B[Annotation];
  B:::active --> C[Training];
  C --> D[Inference];
  click A "../acquisition" _self
  click B "../annotation" _self
  click C "../training" _self
  click D "../inference" _self
  classDef active fill:#950f42
Now that we've collected a dataset, the next step is image annotation - marking objects in images so that our model knows what to learn. Without properly labeled data, even the most advanced models won't be able to correctly detect objects.
There are many tools for image annotation like Label Studio, Roboflow, CVAT, and more. Each tool has its own features and advantages. In this chapter, we'll explore Label Studio, which is open-source and can be easily installed on your computer. Therefore your data stays on your own computer and you don't need to open your dataset to the public.
What is Annotation? 🏷️
Annotation in computer vision is the process of labeling data so that a machine learning model can understand what to learn. In the case of object detection, annotation involves marking objects in images by drawing bounding boxes around them and assigning labels to specify what they represent.
Why is Annotation Important?
For a model to recognize objects, it needs examples to learn from. Annotation provides these examples by telling the model:
- What objects exist in the image?
- Where are they located?
- Which category do they belong to?
For example, if we're training a model to recognize euro notes, we need to manually label images by drawing boxes around 5€ and 10€ notes, so the model can later detect them automatically.
Commercial Tools
Annotation is a time-consuming process, which is why commercial tools like Roboflow with AI assistance are becoming more popular. Furthermore, there are companies that offer annotation services, which can be a good option if you don't have the time or resources to annotate the data yourself.
Types of Annotations in Computer Vision
| Annotation Type | Description | Example |
|---|---|---|
| Bounding Boxes | Draw rectangular boxes around objects | Detecting a euro note |
| Polygons | Outline objects with irregular shapes | Annotating a curved object |
| Keypoints | Mark specific points | Facial feature detection |
| Segmentation Masks | Assign pixel-level labels | Separating an object from the background |
💡 Think of annotation as teaching a model how to "see" by giving it labeled examples!
Annotation with Label Studio
Step 1: Install Label Studio
Label Studio runs as a web application on your computer. We already installed it in the introduction chapter. To start Label Studio, simply run the following command in your terminal:
This will open Label Studio in your browser at http://localhost:8080/
Label Studio Port
Sometimes the default port is already taken, then a new one is chosen automatically.
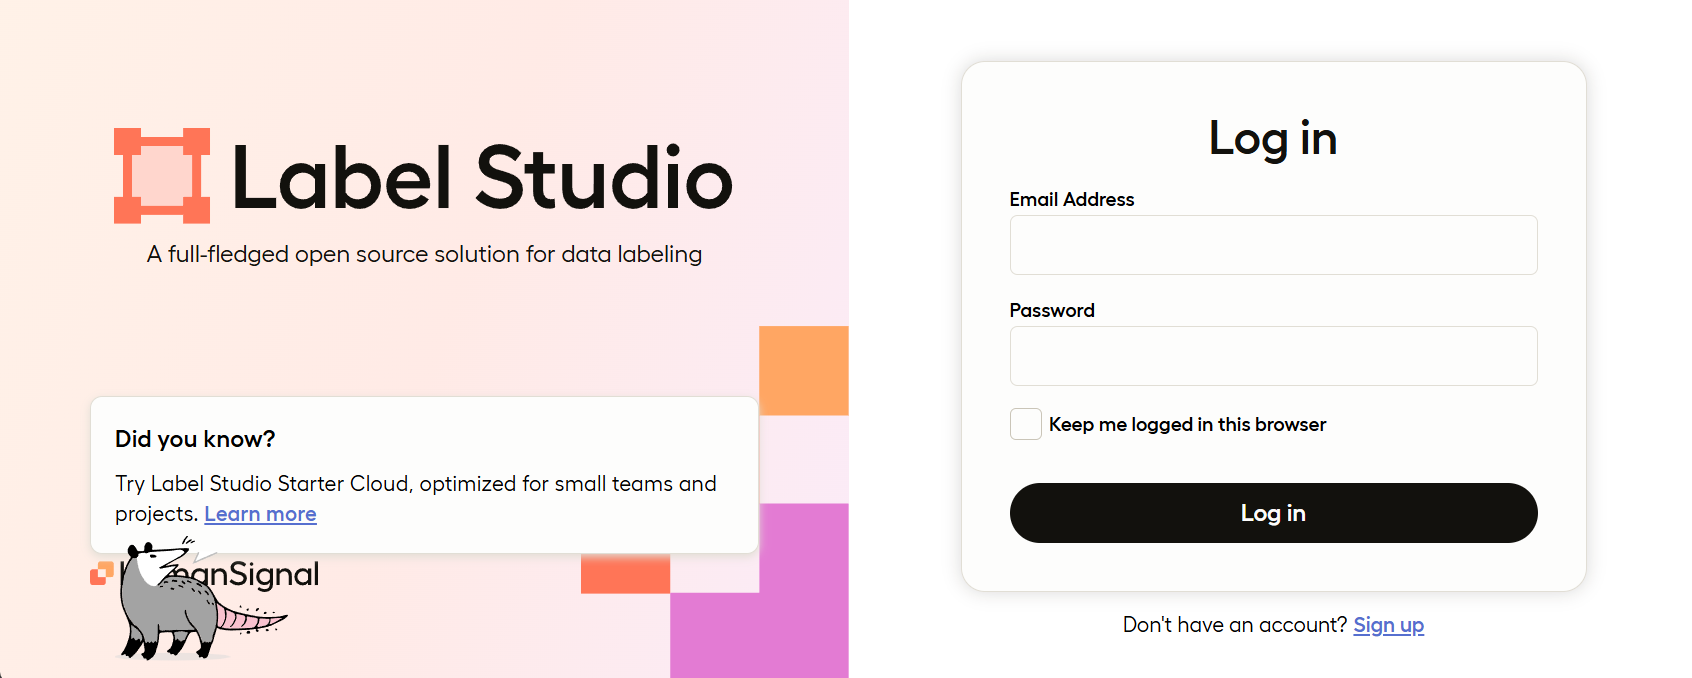
Step 2: Sign Up & Log In
To use Label Studio, you need to sign up first. You can do this by clicking on Sign Up under the login button. After signing up, you can login with your new credentials.
Step 3: Setting Up a New Annotation Project
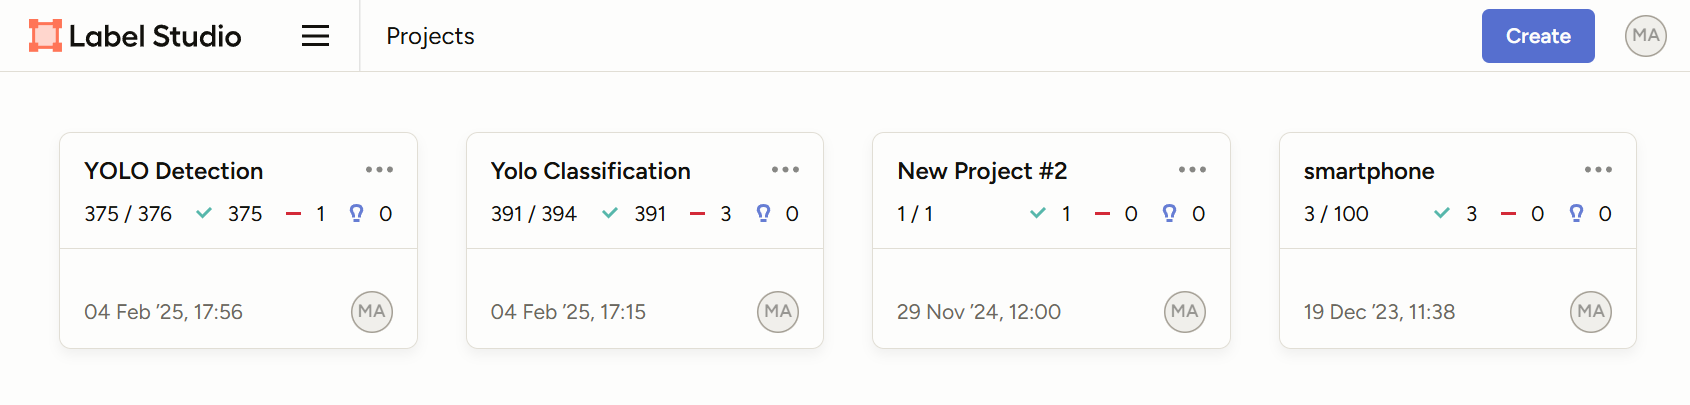
Step 3.1: Create a New Project
Once Label Studio is running:
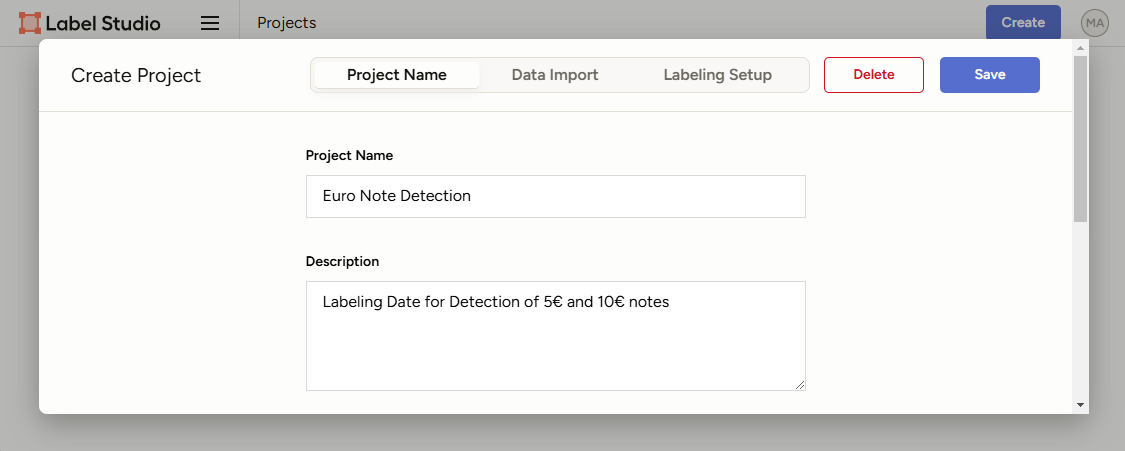
- Click Create (upper right corner).
- Enter a Project Name (e.g., "Euro Note Detection") and Description if you want.
Step 3.2: Uploading Your Images
Now we need to upload the images we've collected before. Label Studio supports multiple ways to do this:
- Upload from your computer: Drag and drop images.
- Load from a folder: Connect a dataset directory.
- Use a cloud storage provider: Connect AWS S3, Google Cloud, or other services.
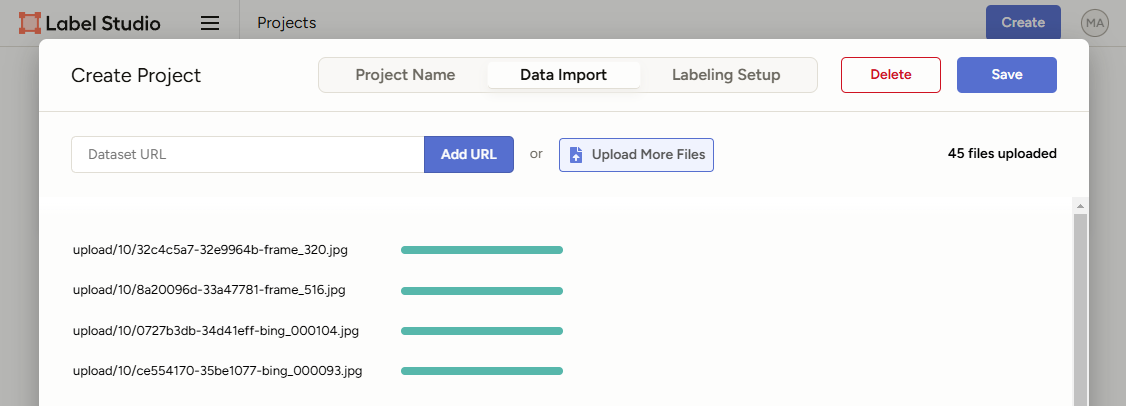
To upload the data by drag and drop:
- Click Data Import in your 'Create Project' module.
- Select your collected euro note images (from
rawdata/five,rawdata/ten, andrawdata/video) and drag and drop them into the upload area.
Uploading Data
Label Studio only allows to drag and drop 100 images at a time. If you have more than 100 images, you need to drag and drop them in batches.
Furthermore, you can also upload images after the project is created. Therefore open your project and click on the Import button in the upper right corner.
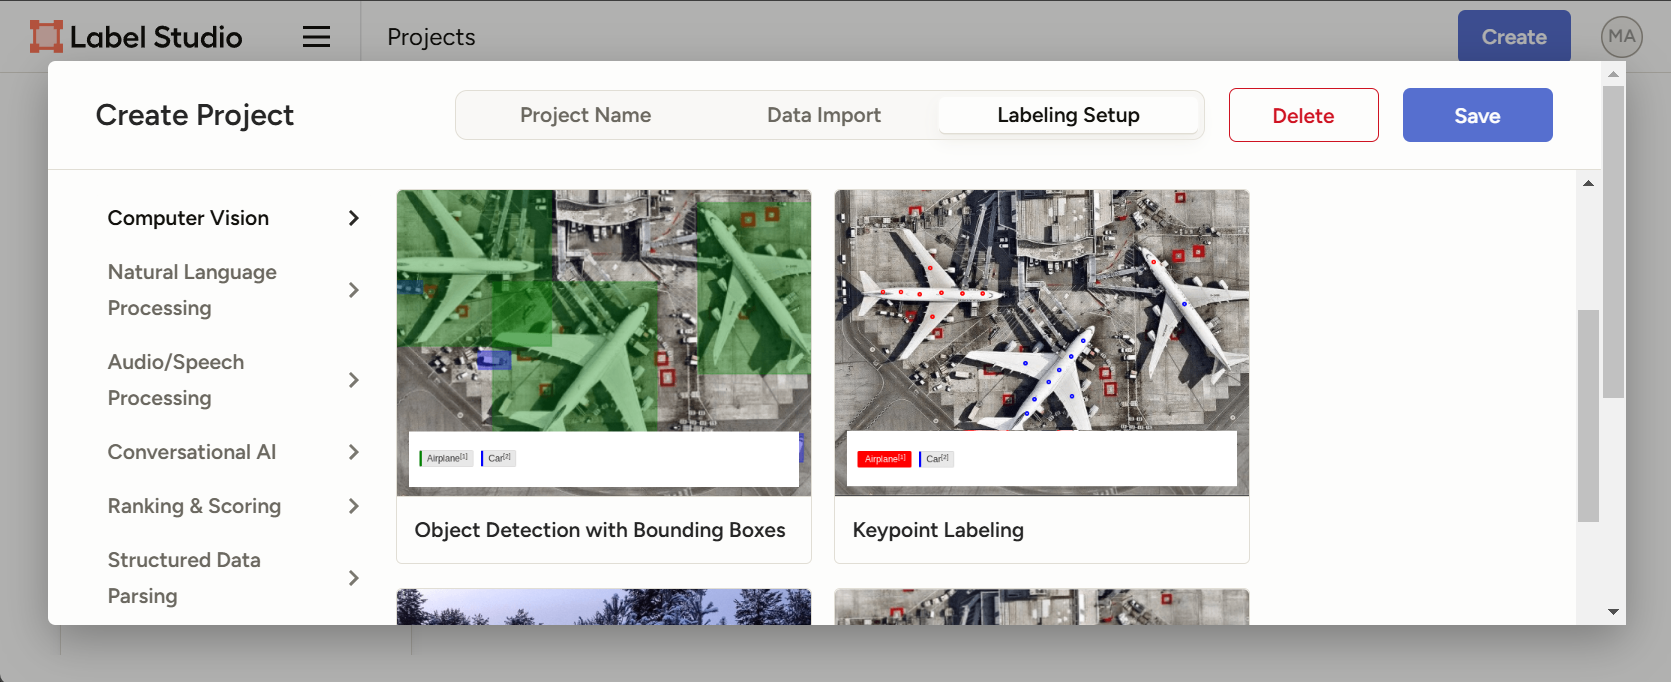
Step 3.3: Labeling Setup
The last step in the project setup ist to configure the labeling interface (define, what we want to label). There are a bunch of different templates available. In our example we want to label euro notes with bounding boxes for detection.
- Click Labeling Setup in your 'Create Project' module.
- Select Object Detection with Bounding Box in the Computer Vision section.
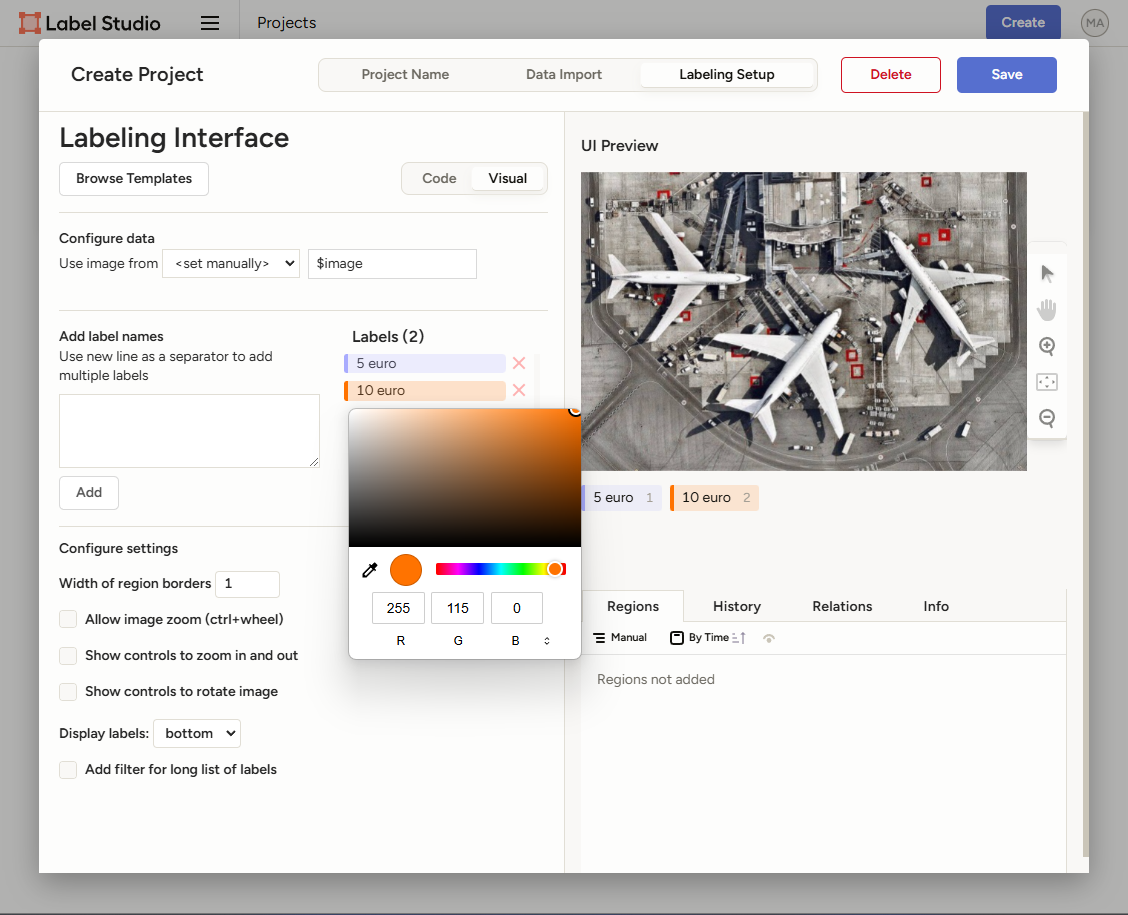
- Define your object labels in the Labeling Interface by adding the labels you want to label:
5 euro10 euro
- You should also change the colors of the labels to make them more visible. Therefore click on the label once you added it and click on the color picker.
- Save the settings.
Project Setup
You can always change the labeling interface later, if you want to label different objects or use a different annotation type. Therefore open your project and click on the Setting button in the upper right corner.
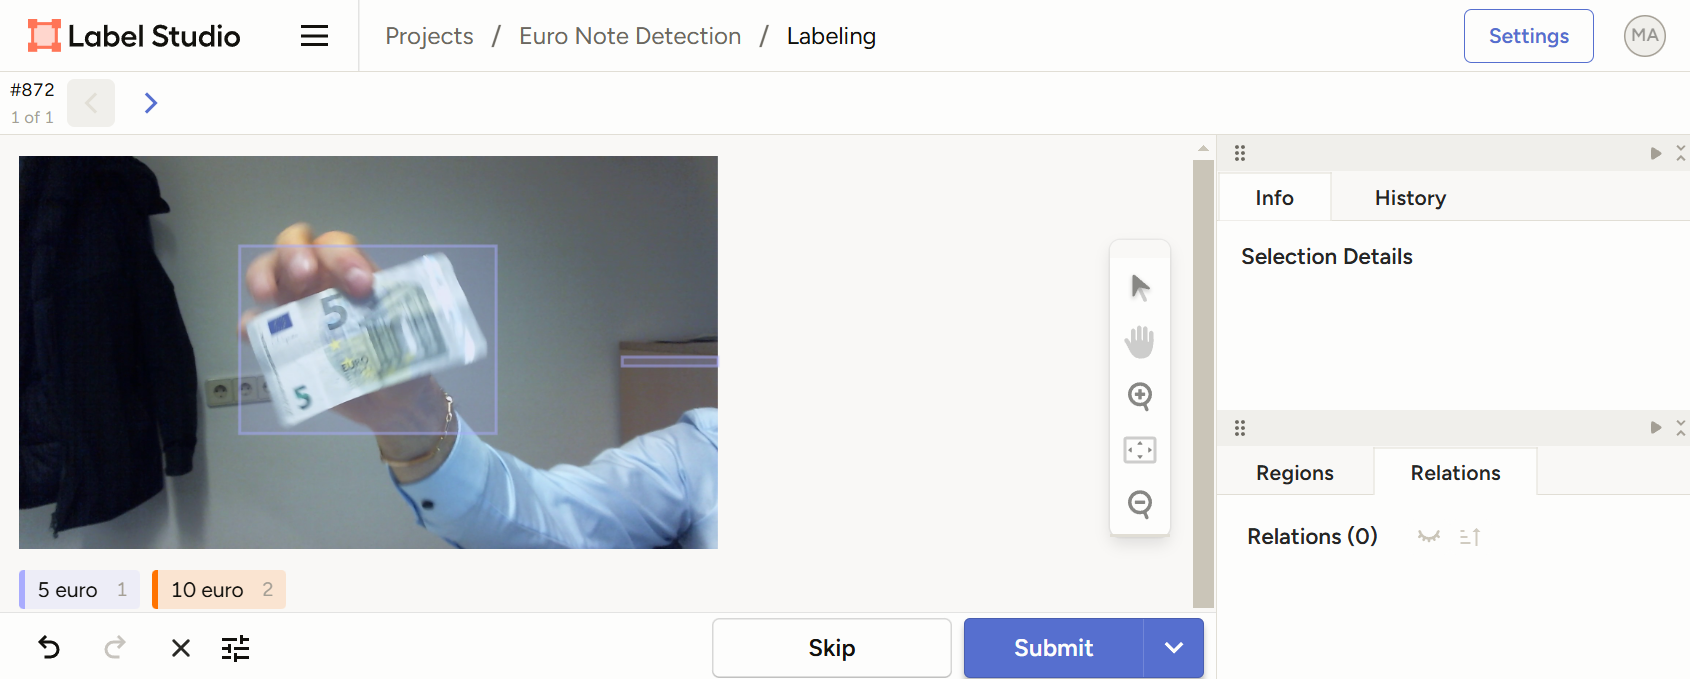
Step 4: Annotating Your Images
Now we are all set and we can start labeling:
- In your project landing page click on the Label All Tasks button.
- Select the bounding box tool (
5 euroor10 euro) from below the image. - Draw a box around each note in the image.
- Click Submit and move to the next image (even if no note is in the image, click on submit and NOT skip).
Labeling Tips
- Use the shortcuts for the bounding box tool. E.g.
1for5 euroand2for10 euro. The corresponding shortcut is shown besids the label name. - Be consistent in your labeling to ensure high-quality training data.
- You can always undo your last action by clicking on the Undo button.

Step 5: Exporting Annotations for YOLO Training
Once all images are labeled, export your annotations in a format compatible with YOLO:
- Click Export in your project landing page.
- Select YOLO with Images (
.txtfiles). - Download the exported dataset.
Congratulation 🎉, you have just annotated your first dataset!

Annotation Format
Once you have downloaded the exported dataset, you can use it to train your YOLO model. But first, let's take a look at the annotation format.
After the export, Label Studio will hand over a zip file with two folders: images and labels as well as a notes.json and a classes.txt file. The folders contain the annotated images (images/) and the corresponding annotations in YOLO format (labels/).
We will copy those folders into our project folder.
📁 yolo_training/
├── 📁 .venv/
├── 📁 rawdata/
├── 📁 annotations/
|   ├── 📁 images/
|   └── 📁 labels/
└── 📄 data_acquisition.ipynb
We will then navigate to annotations and open the labels folder. Inside this folder, you will find a text file for each image. Each text file contains the annotation in the YOLO format like:
The structure of the annotation can be described as follows:
For our example the class ID is 0 for five_euro and 1 for ten_euro. This information can be looked up in notes.json in the zip file. The coordinates are the normalized center of the bounding box and the width and height of the bounding box relative to the image size (xywh format).
Labels / Images
It is important to note, that the for each image there needs to be a corresponding label file with the same name. For example, if you have an image images/image_1.jpg, there needs to be a label file labels/image_1.txt.
Task: YOLO Format
Take a closer look at the label file for an image where both - a 5€ and a 10€ note - are present. What do you observe? How is the label file structured?
Next Steps
Now that you have annotated data, you're ready to train your YOLO model! In the next chapter, we'll explore how to train YOLO with your labeled dataset.