Analysing Videos
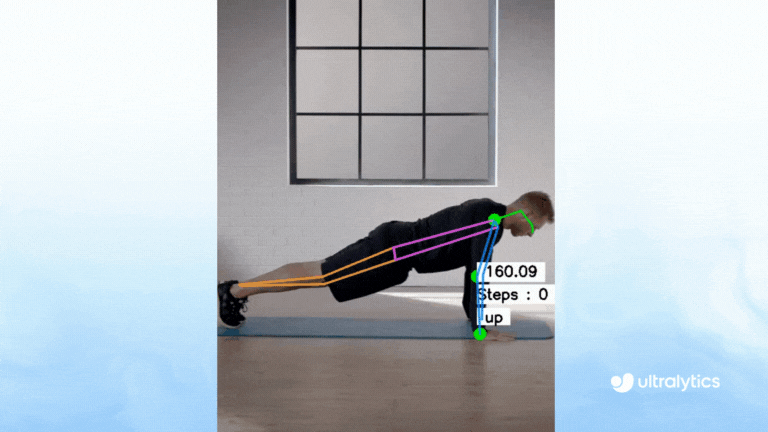
Moving from static images to videos, YOLO demonstrates its real power. With its high-speed analysis, YOLO can process each video frame individually and provide real-time insights. Whether detecting objects, segmenting images, or estimating poses, the procedure mirrors that used for static images but adds the dimension of handling sequential frames.
Project Setup
To start working with video analysis, we'll extend our previous project structure and create a new Jupyter notebook yolo_video.ipynb:
📁 computer_vision/
    ├── 📁 .venv/
    ├── 📁 pics/
    ├── 📄 yolo_detect.ipynb
    ├── 📄 yolo_segment.ipynb
    ├── 📄 yolo_keypoints.ipynb
    └── 📄 yolo_video.ipynb
.venv) is active and that all necessary packages, including ultralytics and opencv-python, are installed.
OpenCV Installation
OpenCV is one of the few Python packages that have different names when installed and integrated into our notebook. The installation is carried out using:
Capture Video Stream
To analyze video data, whether from a webcam or a saved file, we leverage the Python package OpenCV (cv2). Let's begin with a program to access your web camera and display its live feed.
Step 1: Import the Library
To use OpenCV, start by importing the library:
This statement includes the OpenCV library in our program, giving us access to its methods and properties.Step 2: Create a VideoCapture Object
In OpenCV, the VideoCapture() method allows us to capture the video stream from our webcam:
0 refers to the first camera connected to the device. If additional cameras are connected, you can use 1, 2, etc.
Saved Video
You can also open videos from your hard drive or from a website like Youtube . Simply enter the path to your video instead of 0. Don't forget to read the docs.
Step 3: Read Frames
The read() method of the VideoCapture object retrieves each frame from the video stream:
ret: Boolean indicating if the frame was captured successfully.frame: The captured frame as a NumPy array.
Step 4: Display Frames
To display the captured frames in a window, use the imshow() method:
Step 5: Loop and Exit
To continuously capture frames, use a while loop and break it based on user input. Use cv2.waitKey() to listen for key presses:
q key is pressed.
Step 6: Release Resources
Release the video stream and close any OpenCV windows:
Release Resources
Releasing resources at the end is crucial to avoid issues. If the resource (e.g., webcam) is not released, it may remain locked, preventing further connections. This issue can occur if an error interrupts your code, skipping the release command. In such cases, manually execute the release method before attempting to use the webcam again. Alternatively, restarting the kernel can also resolve the issue:
Complete Program
Here’s the complete program to access your webcam and show the live feed.
import cv2
# Define the video source (0 for webcam or path to a video file)
video_source = 0 # Use "video.mp4" for a saved video
cap = cv2.VideoCapture(video_source)
# Process the video frame by frame
while cap.isOpened():
ret, frame = cap.read()
if not ret:
break
# Display the frame
cv2.imshow("Video Analysis", frame)
# Exit when 'q' is pressed
if cv2.waitKey(1) & 0xFF == ord('q'):
    break
# Release resources
cap.release()
cv2.destroyAllWindows()
Inference
YOLO processes each video frame independently, making it suitable for real-time applications like detection, segmentation, or keypoint extraction. To use any of these vision algorithms, simply analyze each frame in sequence and display the annotated frame.